Visually editing using the transcription is a game changer.
When editing videos in Davinci Resolve, I've found myself endlessly searching back and forth in the timeline, searching for "that spot where I mentioned... that thing" or, simply getting lost.
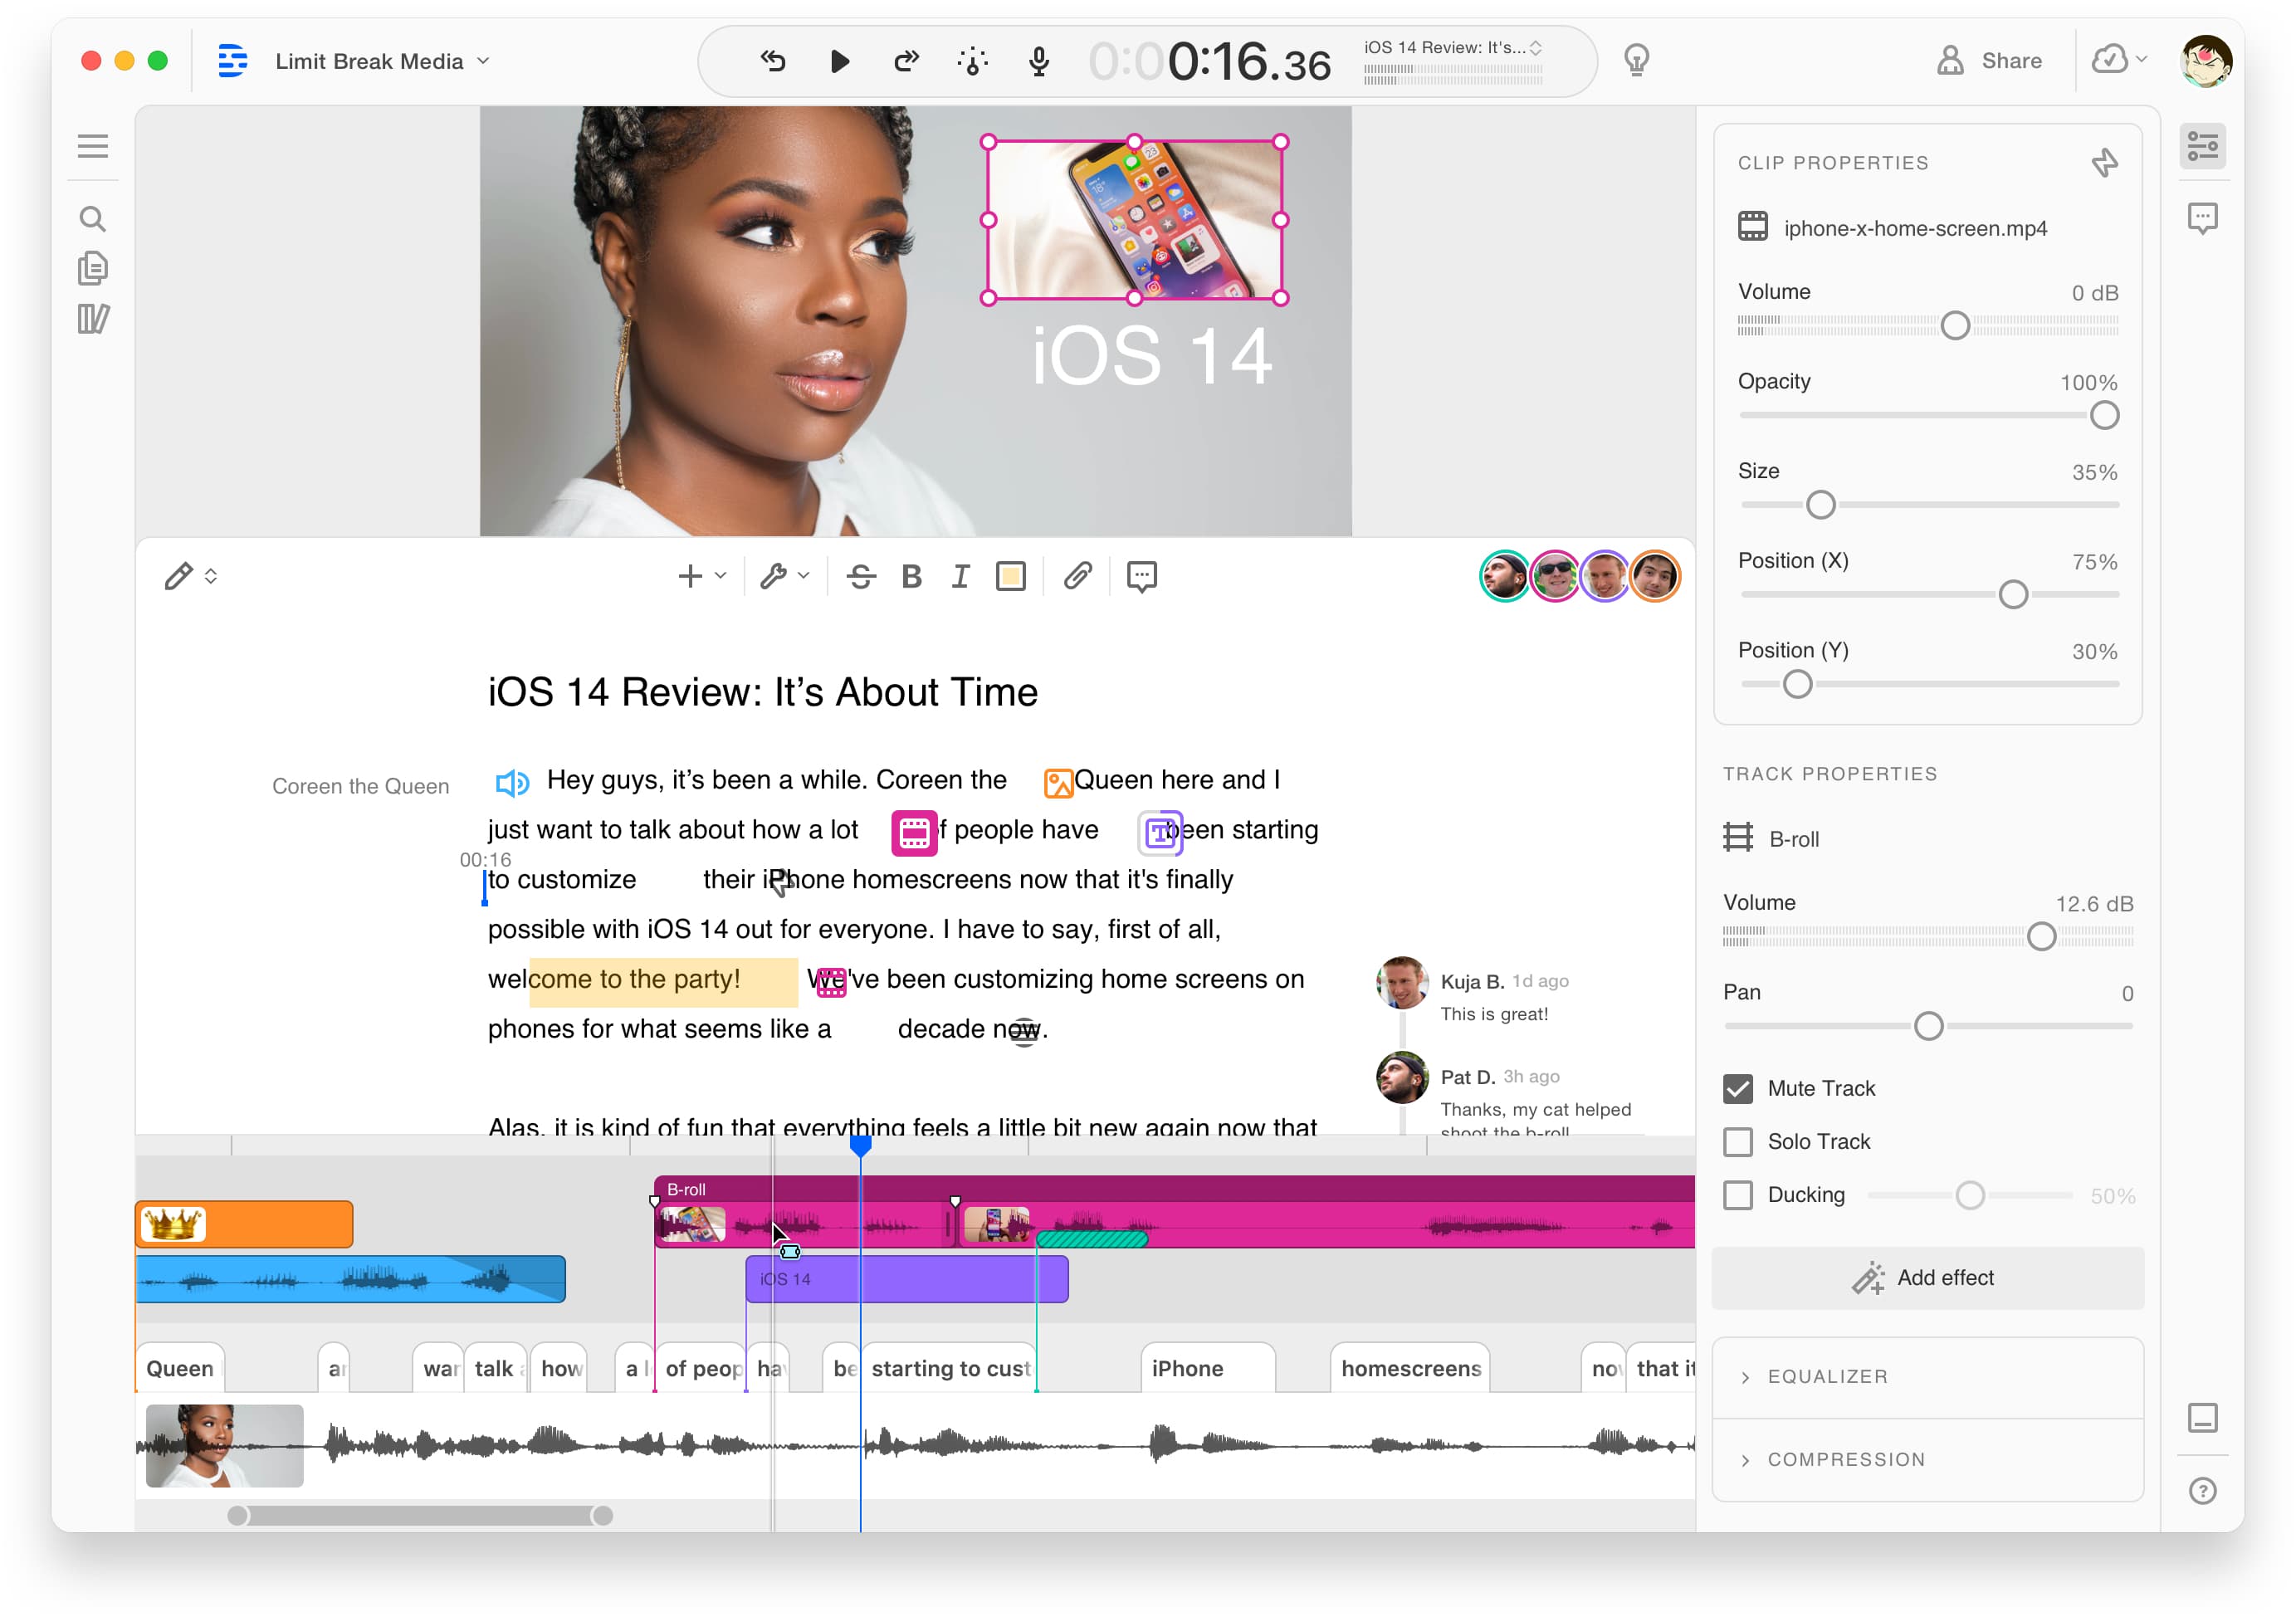
Then, I saw a product demo of Descript, which is a truly revolutionary application, and I love how wonderfully their creators thought outside the box. If you're looking for a fast way to embrace this technology, I highly suggest you try it! I did try a demo, but the process didn't fit into my already established workflow, so I set about looking for a way to do this inside Davinci Resolve.
I'd found a few people already doing similar workflows, but they ended up with Markers which didn't cut it for me. I wanted to be able to see the text more easily and ideally be able to quick jump around the video based on text.
What does this look like in Davinci Resolve?
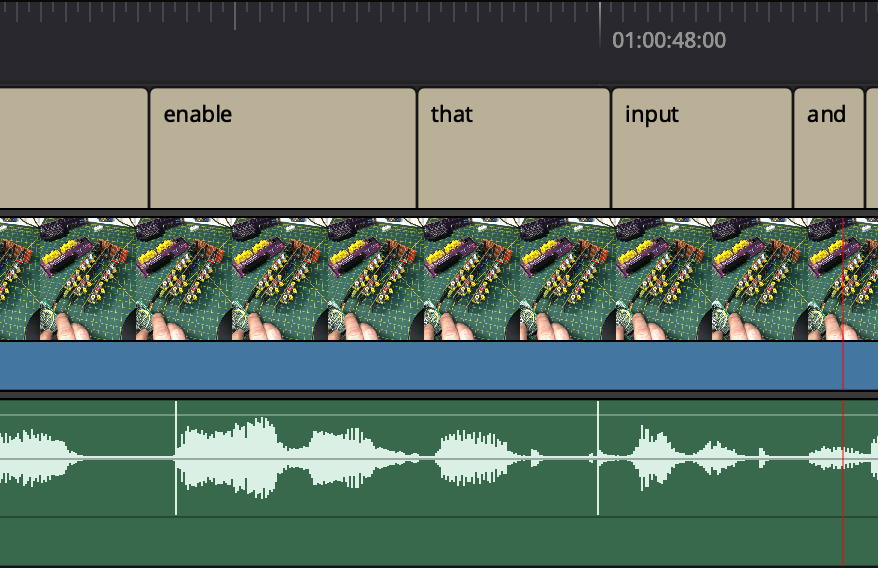
While certainly nowhere nearly as streamlined and purposeful as Descript, you can see what this looks like in Davinci Resolve in the image below. I have 2 separate sets of subtitles, with the lower being a word-by-word timing, and the upper a phrase-based like a traditional subtitle. Both have their uses!
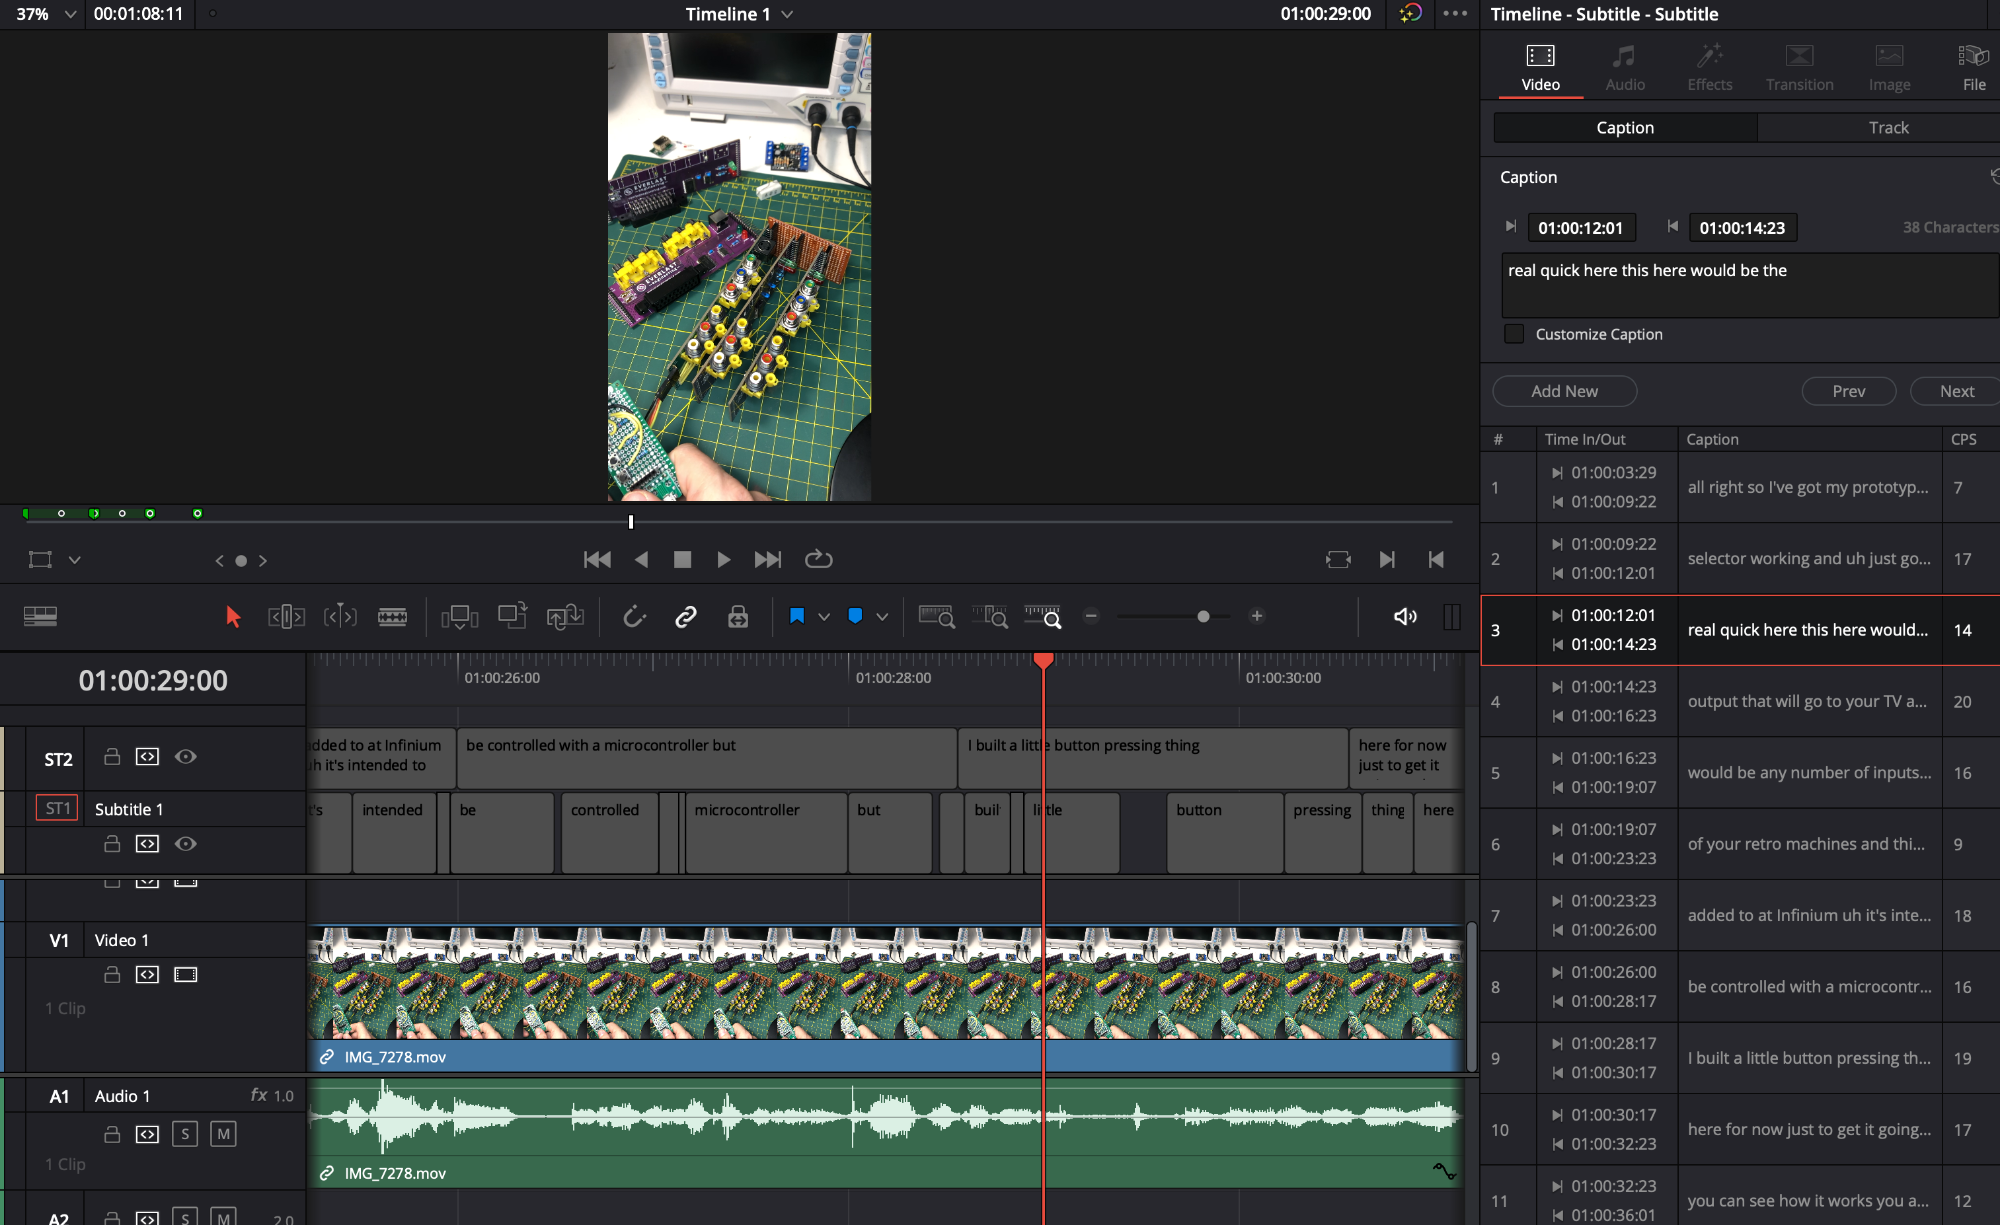
If you click on the subtitle entry in the timeline, it will open the Inspector and highlight the subtitle entry.
Then, you can click the subtitle entry on the right, and it will place the playhead where the spoken word occurs in the video! This allows you to quickly locate the playhead to locations that you'd like to use the Razor. If the cut isn't perfectly located, I can always scrub the video one way or another, or adjust with the arrow keys before I use the Razor.
But first, you have to create the subtitle files for your clip. Let's go over that next!
Two methods: free or cheap.
The key element for this process is to generate SRT files, which are subtitles, for each video track. You can do this for free, or, for a small fee.
For a completely free solution, you can upload the raw video to YouTube (in very low resolution) and let it generate the SRT files for you. There's loads of tutorials on the web now, so I won't bother, just google it. This will not get you word-by-word timing, however. This will make sense later when you see the subtitles in action.
The more accurate method is to use Amazon Transcribe. I'm a huge proponent of Amazon AWS, so that's the method I'll be using below.
This solution provides 60 minutes of free transcription per month for 12 months, then (currently) costs $1.44 per hour of transcription, billed by the second. Honestly, once you begin paying, this isn't any cheaper than Descript, so if you're looking for a solution that's easy, go with Descript! I like to tinker, so this is fine for me.
How to generate the subtitle files with AWS Transcribe.
Don't let the complicated appearance of this process stop you; it's really quick simple. To start, you'll need an AWS account. If you're not familiar with AWS, there are loads of resources that can help better than I can here. Once you're set up with an AWS account, you need to upload the audio file from your video to S3. I used a WAV file, but I'm sure MP3 would be fine. Again, there are lots of tutorials on how to upload a file to S3.
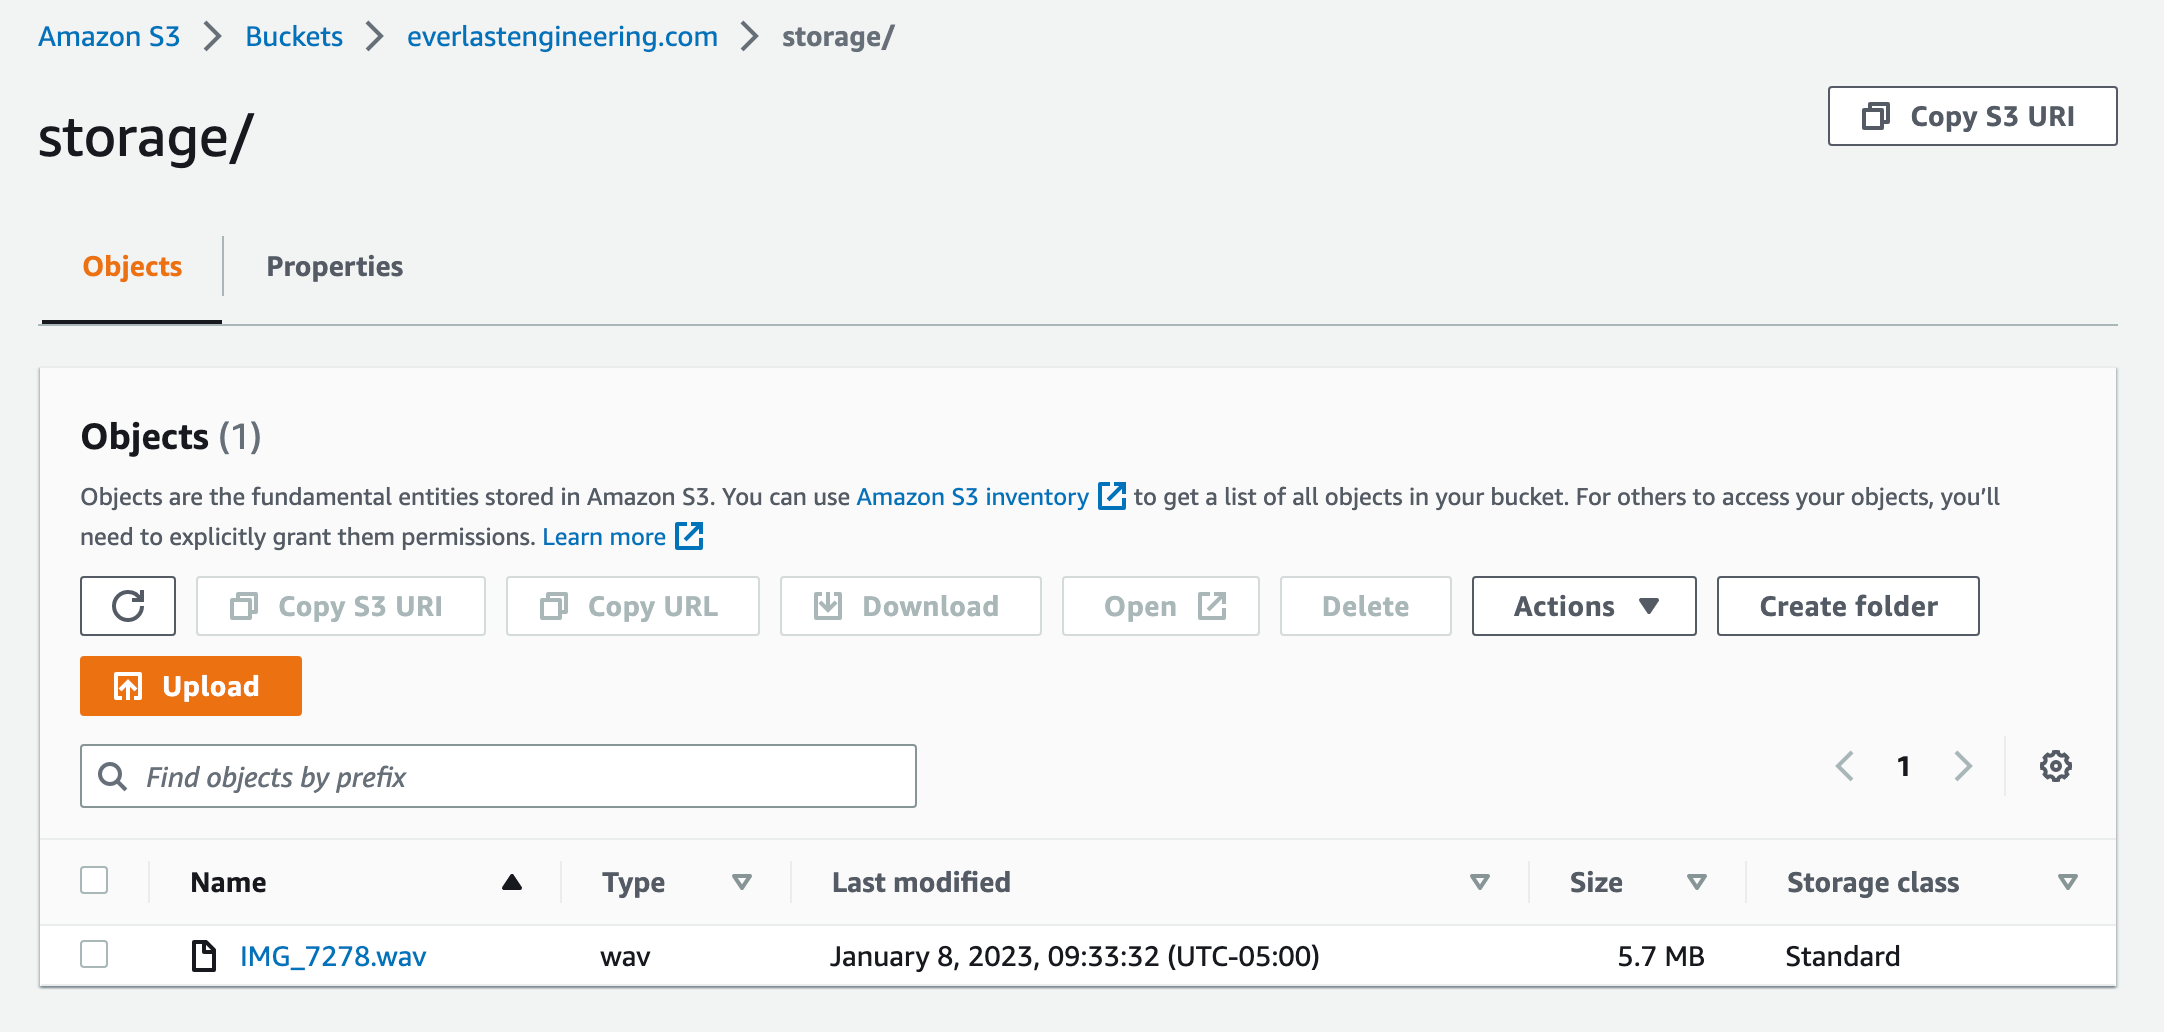
Once you've got your file on S3, you'll need to go to Amazon Transcribe in the AWS Console, to Transcribe jobs on the left, and click the "Create job " button on the right.

Name the job the same as the video or the audio file. You'll be generating various files so keeping them straight and tidy is important.
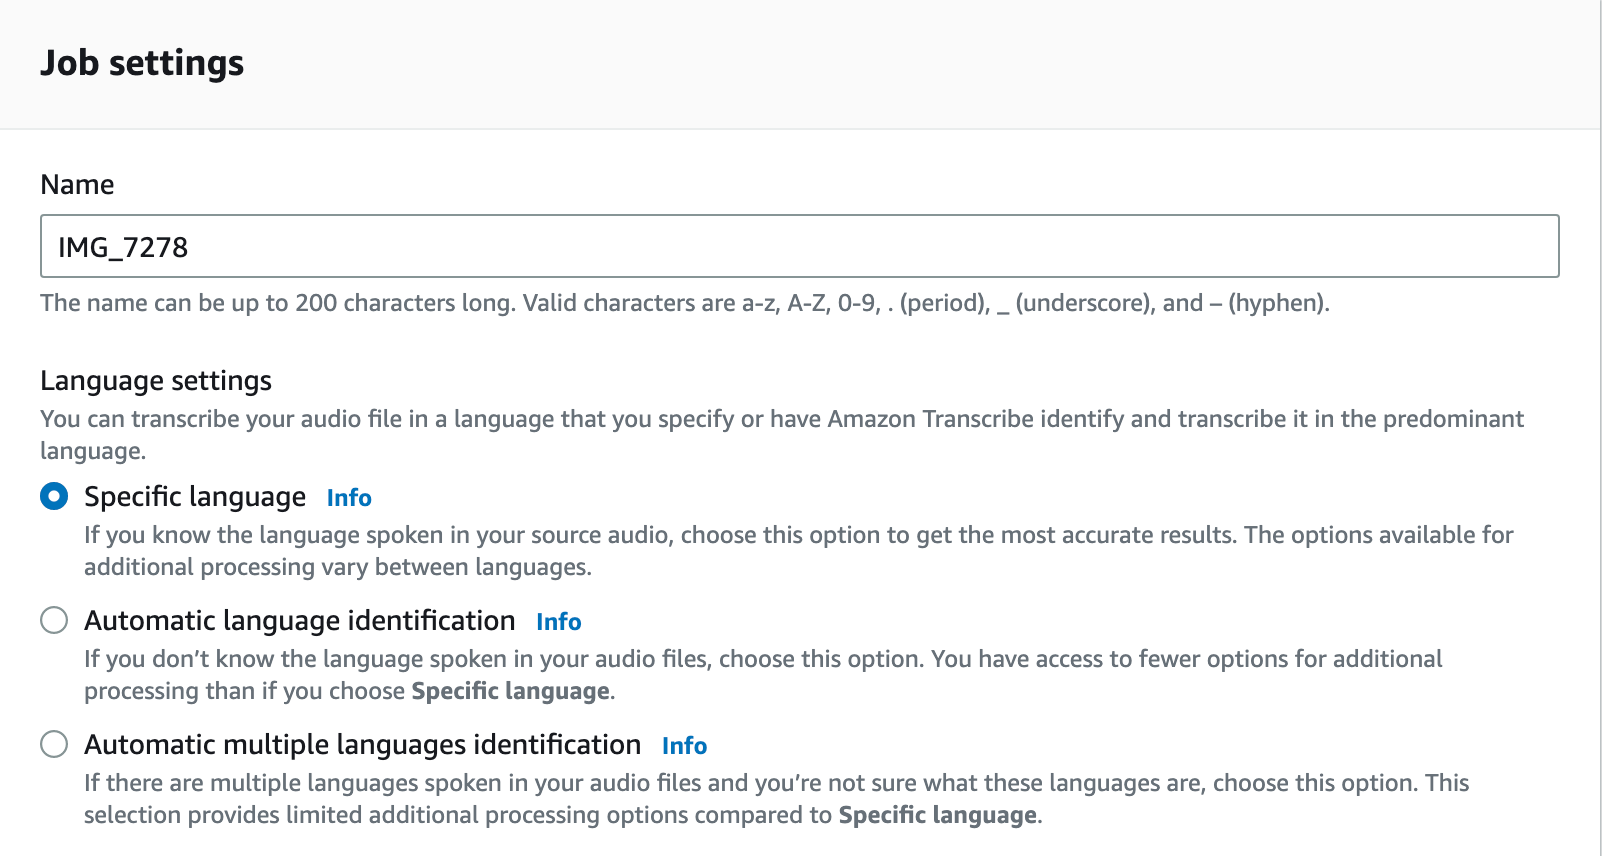
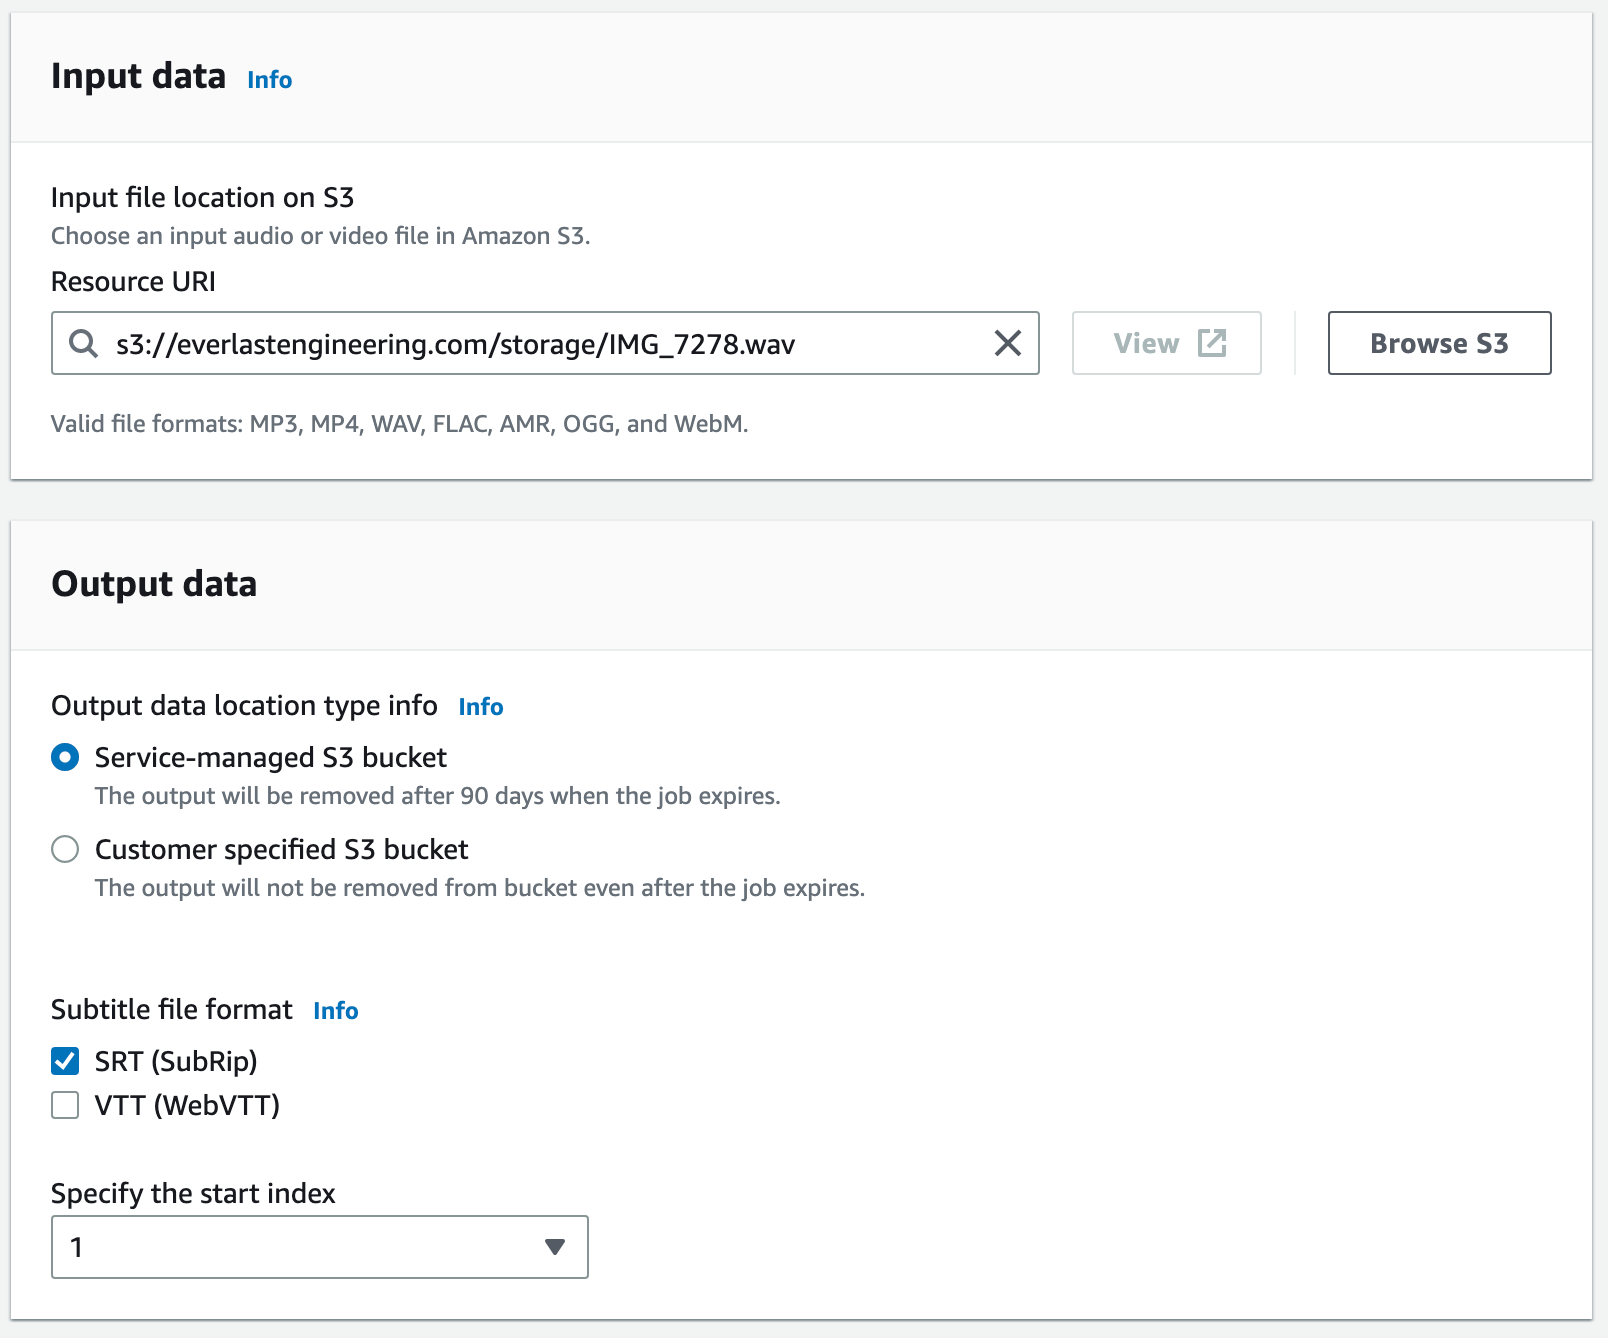
Select the file you've uploaded to S3 with the "Browse S3" button, and be sure to select SRT and change the start index to 1, though, in my workflow this had no impact.
Download The Files
Click Next at the bottom, and leave all the additional options as is and click "Create Job" at the bottom of the second page. In a short while, you'll be presented with the "Transcription preview" screen. If you leave the page and come back, you can always see your completed jobs from the "Transcription jobs" menu item.
In the Transcription preview you will see a Download button on the top right.
You'll want to download the transcript json file, as well as the Subtitle file SRT format.
Create a Word-by-word Subtitle SRT File
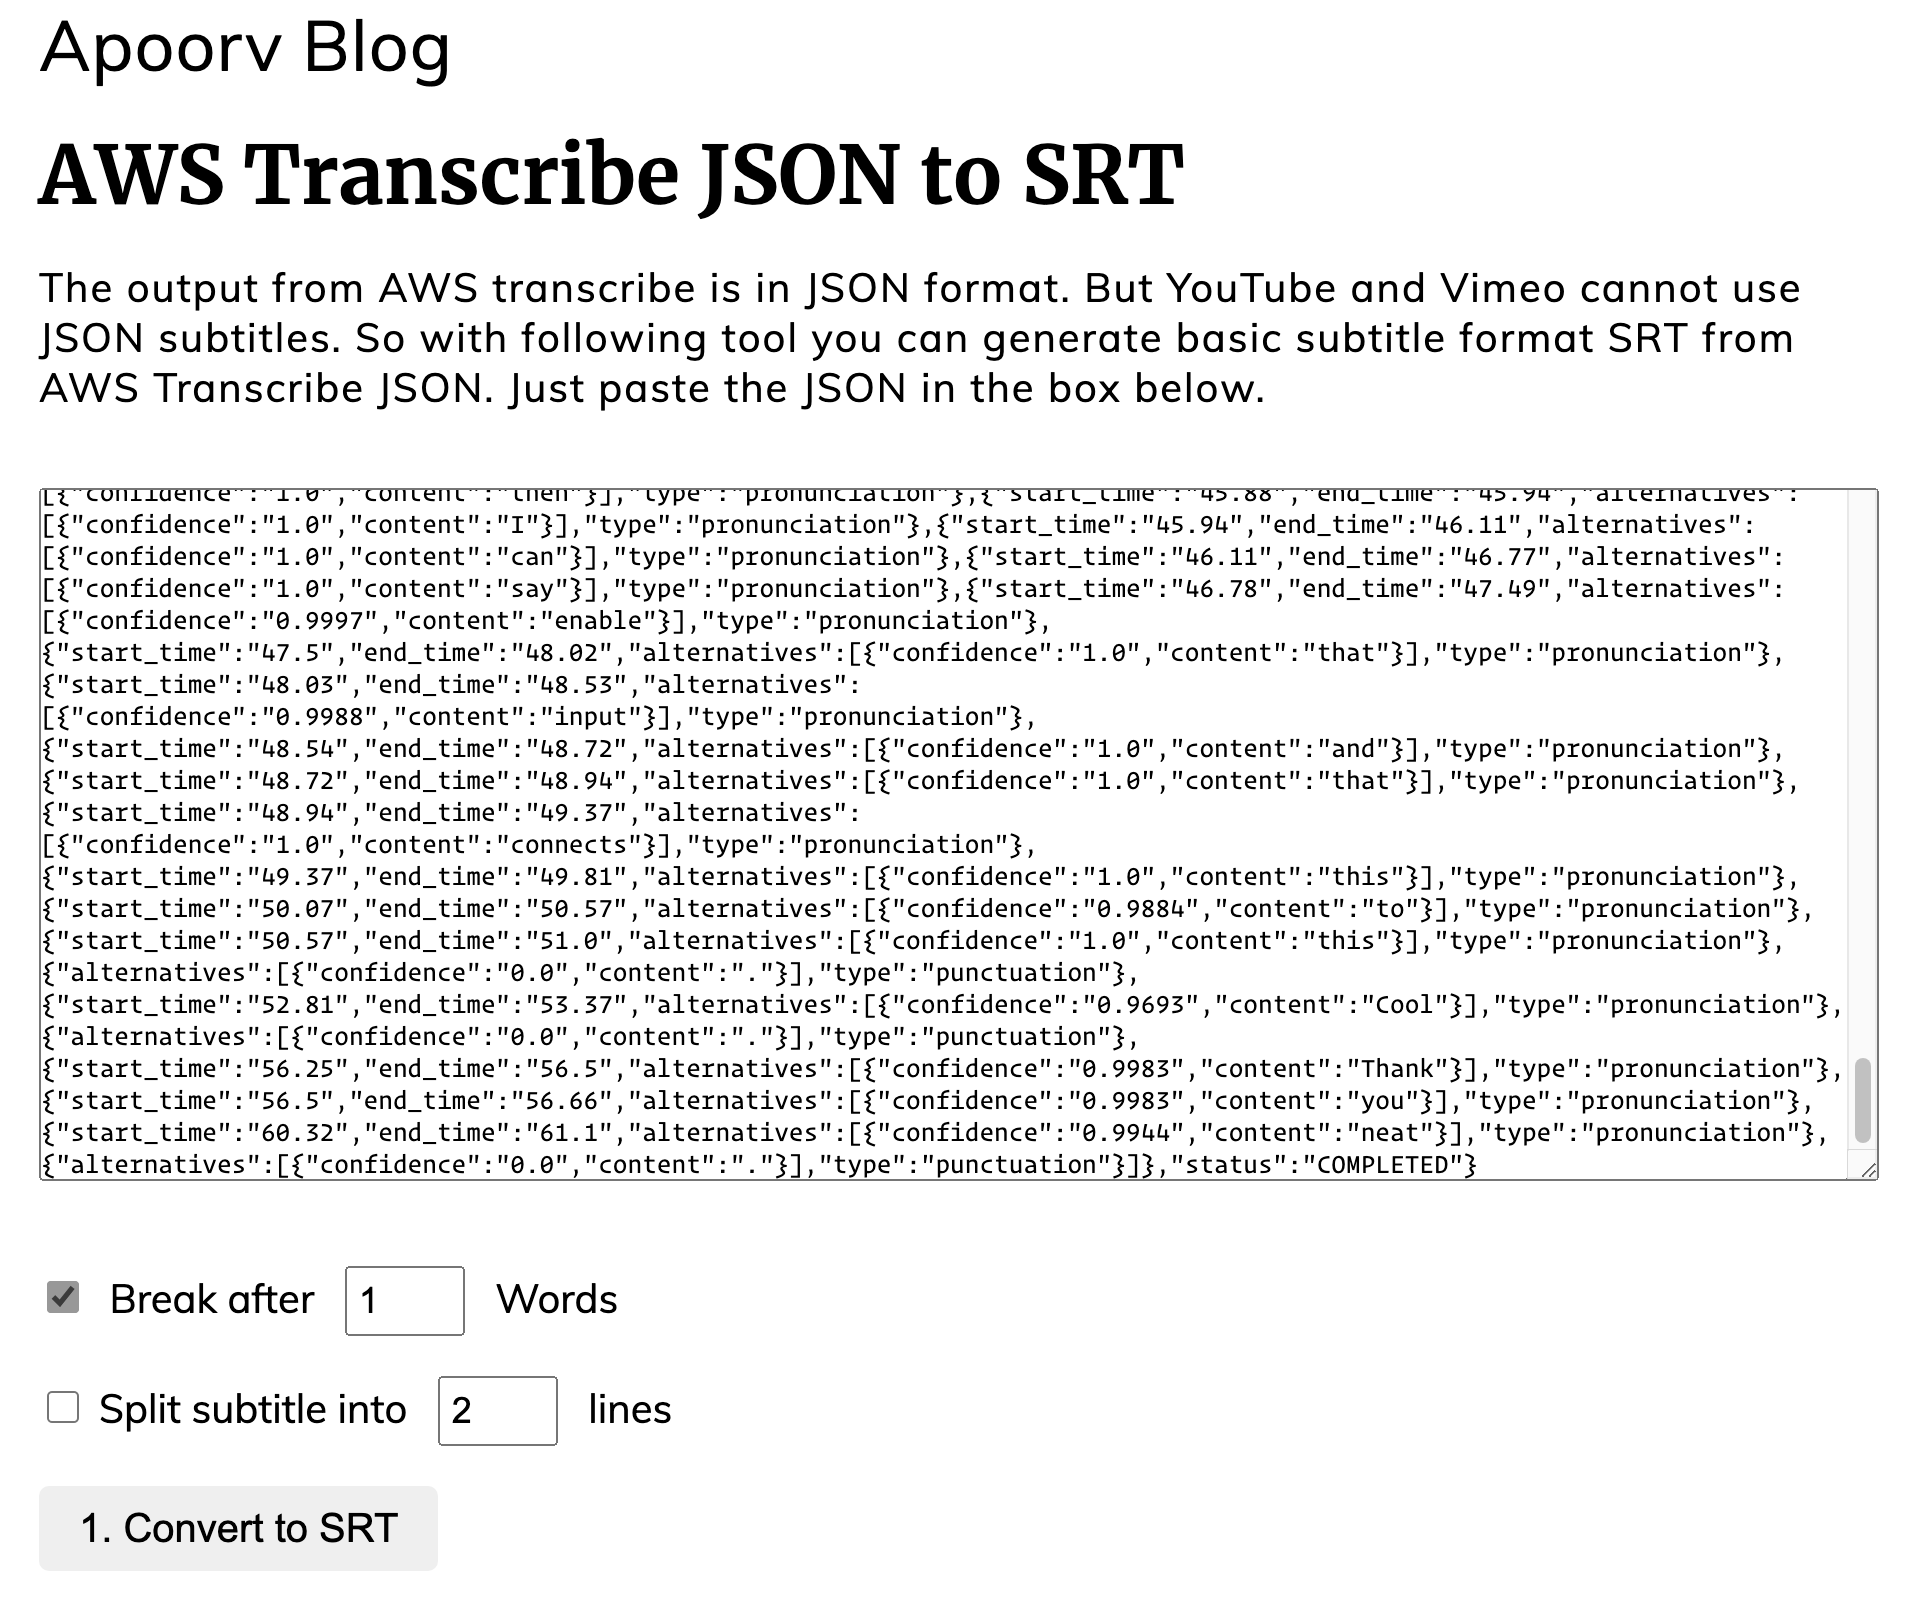
Open the JSON file in any text editor and copy the whole thing to your clipboard. You don't need to understand what you're seeing here, but this contains the word-by-word timing of your audio file.
Head over to https://apoorv.blog/aws-transcribe-json-to-srt/. This is a great online (free) tool that converts the AWS Transcribe json format to SRT. But, you say, we already have a SRT file! The one provided by Transcribe only has phrase-level timing, so this will generate a word-by-word subtitle SRT file.
Open the site above, and paste in the contents of your JSON file, choose "Break after 1 Words", uncheck the other option and then click the Convert to SRT file. When you download it, name it the same as your video file with '-byword.srt' at the end to distinguish it from the other subtitle file.
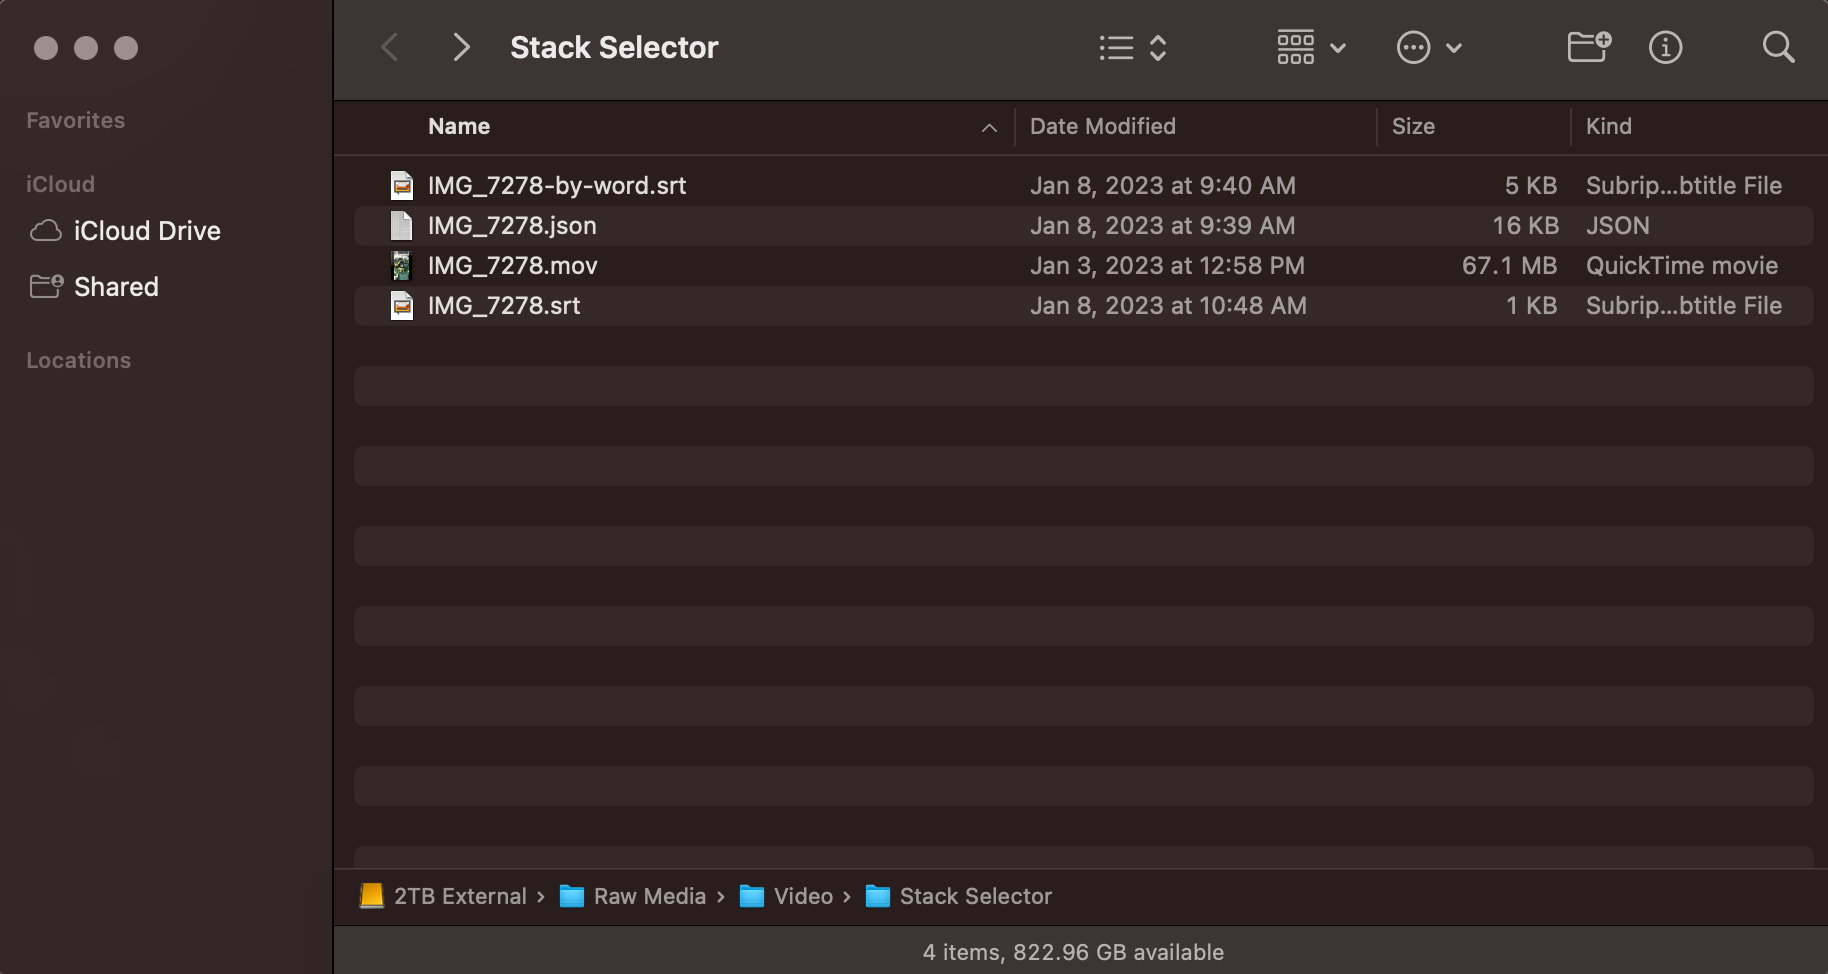
You should have three files in total now, the json file and two SRT files. You won't need that JSON file anymore, so you can delete it if you wish. In this example, the files look like this:
Next, import the two subtitle SRT files into the Media Browser in Davinci Resolve. Once they're visible, you can drag and drop them right into the timeline and they'll show up as Subtitle tracks.
Congratulations, you're all done!
When you click on the word in the subtitle track, the playhead jumps to align itself with the word you have selected. You can use these as jump points, then Slice with the Razor. On clicking the subtitle, you can also see them on the right in the inspector which I find to be a very quick way to read the text, rather than in the actual timeline.
By choosing the phrasing subtitles, you can quickly jump through long clips, then, switch to the word-by-word to get more precision.
I hope this information is found useful, and that you are able to more quickly slice up your tracks in Davinci Resolve!
Send me an email with any feedback.
jason@everlastengineering.com